- The Mimaki driver (device driver) is required when connecting the PC and plotter with a USB cable. Follow the procedures below to install the Mimaki driver.
* Required only for USB connection. Installation of the Mimaki drive is not required if you are using
a LAN cable or a serial cable.
* Required only for Windows. For Mac, installation is not required.
1. Disconnect the USB cable connecting the plotter to the PC.
2. Download the Mimaki driver.
(1) Click on the download page below.
https://mimaki.com/download/cutting.html
(2) Select your plotter.
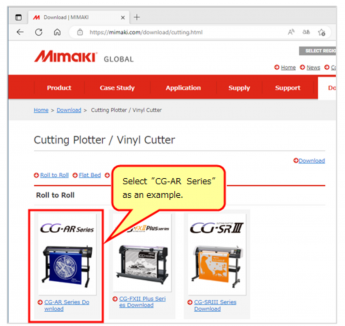
(3) Select your OS, and choose the latest version of "Mimaki driver Ver.*.*.* (*bit)".
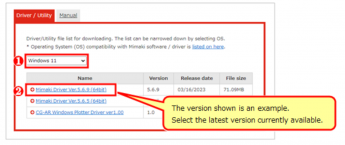
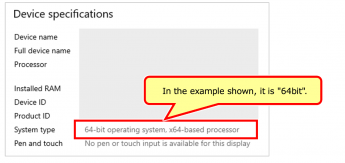
* You can check the bit number of your OS by right-clicking the Windows start button,
opening "System" and checking "Device specifications" under "About".
(4) Scroll to the bottom of the page and click [Download].
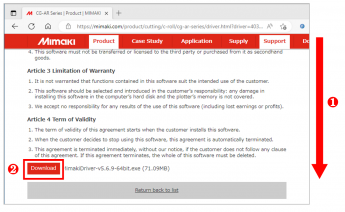
Note that this may vary depending on the browser, but in case of Chrome, the downloaded file will be displayed in the lower-left corner of the screen.
If you can't find the downloaded file, please look in the Windows Download folder.
3. Install the Mimaki driver
* Before installing, disconnect the USB cable that is connected to the plotter from the PC.
(1) Execute the file downloaded in step "2. Download the Mimaki driver"
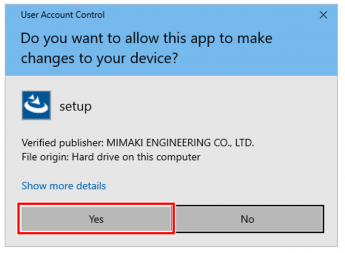
(2) Click [Yes] when the User Account Control screen appears.
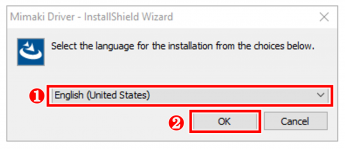
(3) Set the installation language and click [OK].
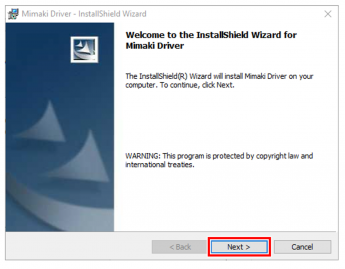
(4) Click [Next]
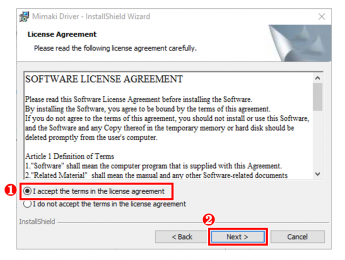
(5) Check the content of the SOFTWARE LICENSE AGREEMENT, put a check mark in
"I accept the terms in the license agreement" and click [Next >].
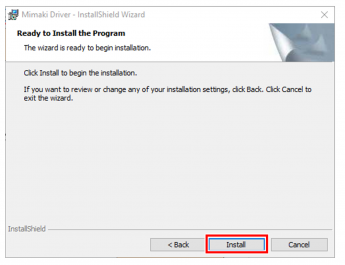
(6) Click [Install].
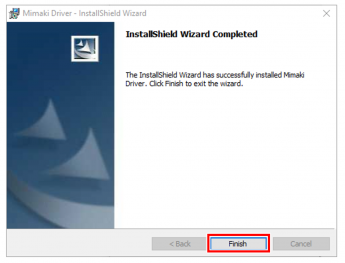
(7) Click [Finish] when the installation is complete.
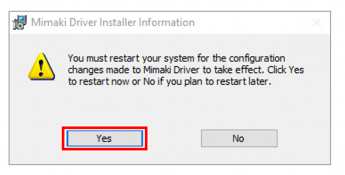
(8) Click [Yes] to restart.
The installation is complete.
Reconnect the USB cable to the PC.